For post #1 let's start with this simple and fun activity related to the Christmas Season that has started. It is a project you can do individually or as a family.
This post will show you how to make one of the main personalities:
Mary and Joseph.
Following are three ways you can make a cotton figurine:
All cotton dolly: In this one you use pure cotton to make the figure. (picture on the left)
Cotton-cloth dolly: In this one your main body is made out of cotton and extras (like clothing) are made from cloth or are painted. (middle picture)
Cotton-cloth-painted dolly: To make this figurine, you will need paint, cloth and cotton! Simple, no? (picture right)
You'll need:
Cotton
Glue
Scissors
Cloth (if you're not making an all-cotton)
Paint and paintbrush. (same as above)
White string/thread
Play-dough-clay, regular play dough, or cardboard paper (toilet paper rolls work too)
Let's get started!
For one you need pleated cotton (NOT the cotton ball shaped ones!) that is not sterilized (for one, sterilized is more expensive and you don't really need it).
Picture translation: Absorbent cotton. 100% cotton. Pleated. 50 g.
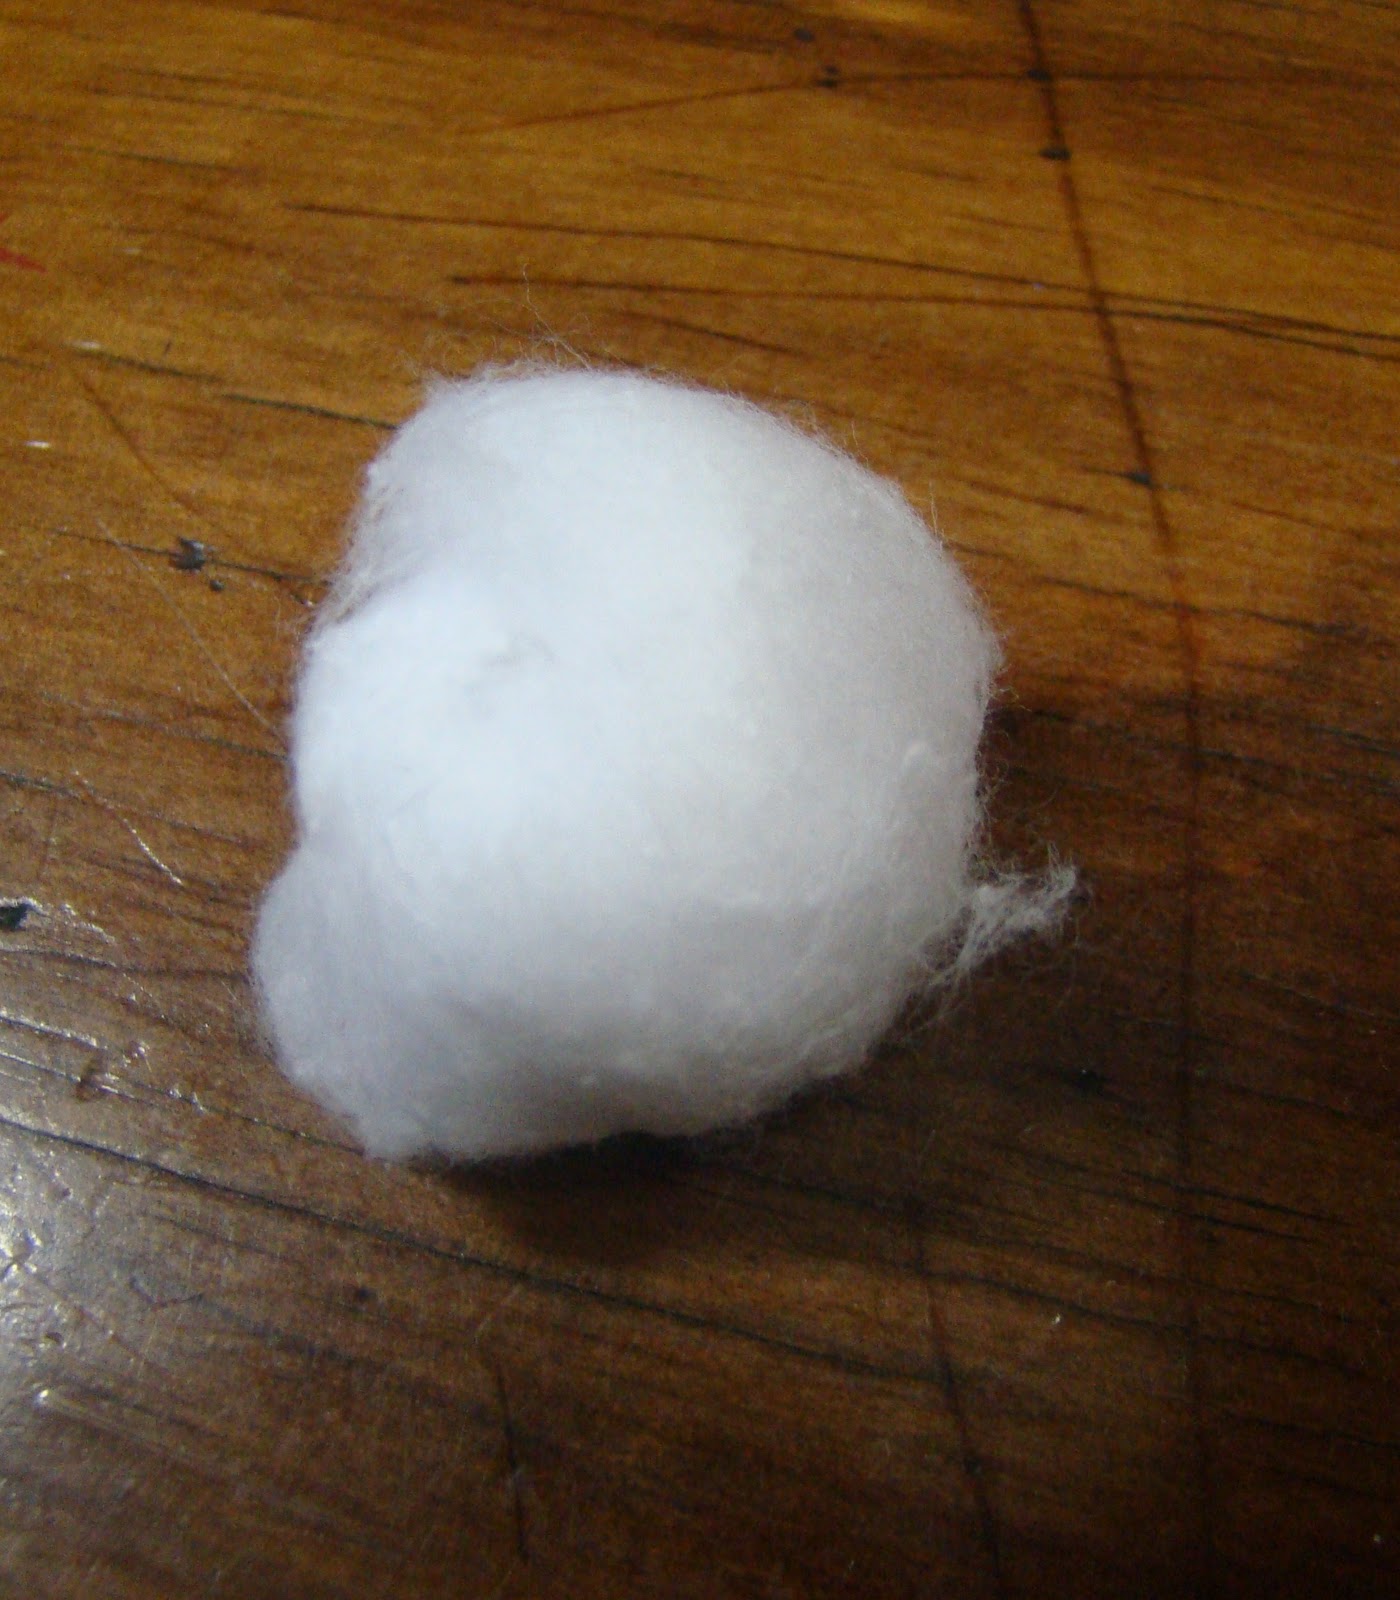
Here is what this type of cotton looks like.
For this activity so that you make it last longer and don't waste a lot of cotton, separate it. It's quite easy.
Grab a piece of cotton and roll it up into a ball depending on how big you want your figurines to be. (The size of mine is 13.5 cm aprox. 5.3 in) I made the head aprox. 4 cm which is about 1 1/2 inches.
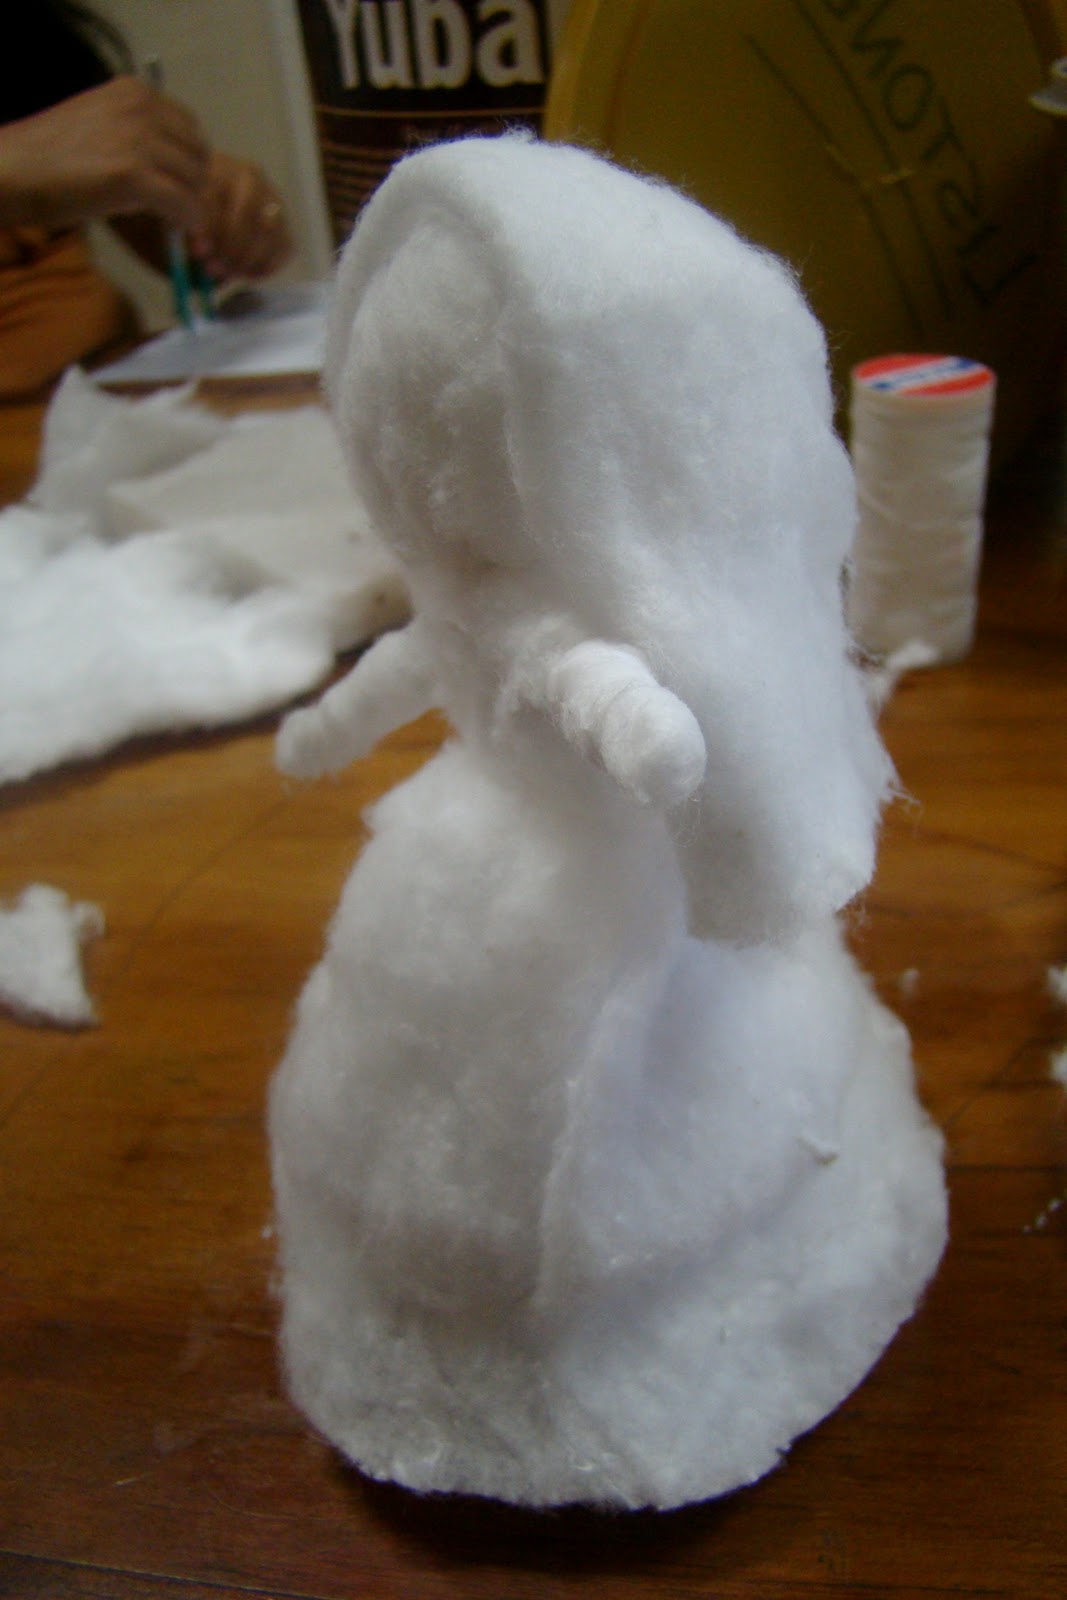
Separate a piece of cotton and cut it at about 29-30 cm. Next, fold it over the head, around the middle of the rectangular piece of cotton, bring the sides together wrapping it, and with a string fasten the area that will be the neck. You will now have something that looks like a little ghost.
Next cut the upper sides of the "body" to make the arms. It will look something like this.
Now twist the arms and with the white string tie the wrist and shoulder area.
Now that both arms are done, our next step is to make Mary's dress.
Fold the front part of the dress like this.
Now bring the right side of the back over the front skirt and glue it from top to bottom around her waist area. Repeat the same step for the left side.
Now her skirt will look something like this.
Now we are going to do her "stand" base that will help keep her up. I used a piece of clay-play-dough thingy my sister got for a school activity, but that she never finished using. I got several colors together to make the ball bigger and squished it into the right shape. (You can also use regular play-dough or roll cardboard paper or toilet paper rolls into a triangle shape)
Making a shape somewhat like this.
Insert it at the bottom of her skirt.
Now with your figurine standing up cut away any pieces that are longer to make her skirt the same size.
Now with a string tie the midsection of the torso (what would be below the breast area). Always cut what's left of the string after it is tied.
By now your figurine should look something like this.
Now it's time to fix the arms.
Obviously, because cotton is cotton the arms will be a little fuzzy and with small pieces sticking out everywhere, making the arm look irregular.
What you're going to do is get a bit of glue on your finger and with that you are going to smooth the arm out, moving your finger in a circle around it in the direction you twisted the cotton.
In the end your arms should look like this:
(These next instructions are for the ones that are going to make their figurine all cotton. So, if you are doing one of the other two that I mentioned, you can skip these steps.)
Get another piece of cotton, calculate how big you want it and cut it into a small rectangular that will fit the size of Mary's head.
Fold the front edges (the ones that will be near her forehead) and glue the mantle on to her head.
Now fold the exterior edges so that it looks something like this. (Cotton is very manageable and will stay put in whatever shape you fold it into)
Now the back.
Grab both edges and glue them together so that they don't stick out.
Now we'll add a little scarf.
Twist a piece of cotton and bring it over her shoulders.
Glue them together around the area you tied the string earlier.
CONGRATULATIONS!
You have finished your Mary figurine! You may skip the next steps and head on to Joseph.
COTTON-CLOTH MARY: You're almost done by now! All you need to do is find a piece of cloth or ribbon and wrap it around Mary like a shawl. For my figurine I used this blue ribbon:
Its width is 6.2 cm and I cut it to be 23 cm long. (of course, this depends on the size of your figurine) Mine is the color blue, but feel free to experiment with other colors for her shawl!
Wrap it around Mary's head, make the ends go out into an "X" and glue them in together in the middle.
You're done! Time to show off your Mary!
COTTON-CLOTH-PAINTED MARY:
You too are almost done! Now, it's time to paint!
For my figurine, I used acrylic paints (the type you use to paint ceramics) but I'm almost sure watercolor paint will work as well.
This is the one I use for their skin color.
And this one I used for her hair.
Get a piece of cotton, roll it up and glue it to the top of her head, this will be her hair. With your paintbrush (preferably a square flat one) add on the paint to her face and arms.
Tip: Dip your finger into water and smooth out Mary's face so that adding paint is easier.
Next, with the brown paint (you may use black, blond, red, etc. as you prefer) paint her "hair" in the direction you twisted the cotton.
Once the paint is dry (may take a few minutes) get your piece of cloth and wrap it around Mary's head to make a shawl. She should look something like this:
Yaaay! Pat yourself on the back! You've finished your fist addition to your nativity scene!
JOSEPH:
Repeat the same first steps you did to make Mary.
Tunic: Joseph's will be different than the skirt you did for Mary.
Bend the sides of the tunic (red arrows) and glue them together. Repeat for the other side.
Should look something like this when both sides are done:
Tie thread around his waist. (As you can see, his is lower than Mary's)
Make the base for Joseph as well so you can stand him up. Cut his tunic till it's a good size (mine came out a little bit too big at the beginning)
Now mix a drop of brown paint with water. Get a piece of cotton and twist it. Soak it into the water and squeeze any extra water out.
(If you're doing an all-cotton, don't soak it)
Like this!
Wrap it around his waist and glue it.
To finish Joseph's tunic, cut a piece of cotton (I used the bottom part I cut that was too long) and paint it brown, unless you're doing an all-cotton.
Tip: Tap the paint on, leaving a few white spots, to give it a leather texture.
Head-dress:
All-cotton: Do the same thing you did for Mary's head-dress but don't glue the exterior sides and add a twisted cotton at the top to tie it up. (look at picture below for example) You're Joseph is done!
Cotton-cloth: Get a brown cloth and cut it aprox. 8.5 by 14 cm. if you're going by the figurine size of 13.5 cm. Cut another piece of the same cloth (or different if you prefer) twist it and tie it around his head to keep the head-dress in place. CONGRATS! You're done!
Cotton-cloth-painted: Do the same as cotton-cloth but paint the face and arms of Joseph first. Whooo! Awesome job!
Mary and Joseph.
You may now officially do your happy dance :)